Decisions


I was browsing Spoonflower today looking to see if there were any genius fabric patterns to inspire a design for my son's room and I think I found one.  I saw this take on a Pantone color chart and thought it would be fun to upholster a chair in it. Also, the fact that all their fabrics are in the $18-38 range(depending on the type of fabric you print on) is a bonus.

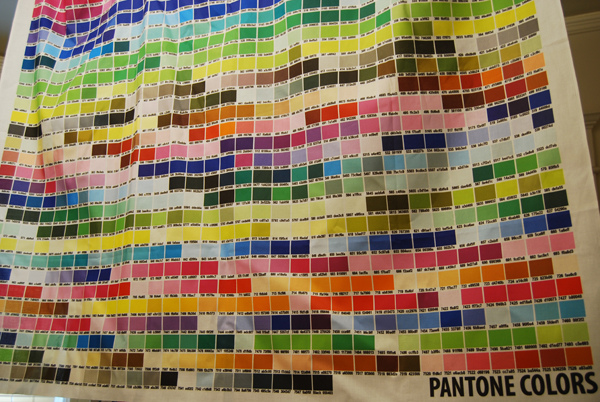
The only thing is it really doesn't help me in narrowing down a color scheme.

So I'm thinking of putting it on these...
but my only hesitation is that they destroy everything with juice, boogs and drool. So I'm probably going to keep the orange leather and
frame a huge piece of the fabric for some inexpensive art.

 I also wanted to do upholstered headboards, but the juice and body fluids stopped me from making that mistake. Instead I'm going with these...

They are actually the beds my sisters and I used as kids. Haven't decided to paint them black or leave natural yet. I will have to let my energy level decide.

Here is the really sad and pathetic part. They are turning 4 & 6 soon and I have never "designed" a room for them. I'm a freaking designer, like the landscaper that doesn't mow his own lawn.
My only excuse is they DESTROY things. They go through a bedding set a year, draw on my walls and furniture despite punishments and having toys and priviledges taken away, and there room looks like a warzone constantly. I can't believe I'm actually showing you this, and I straightened it up a bit too. Here is is today...


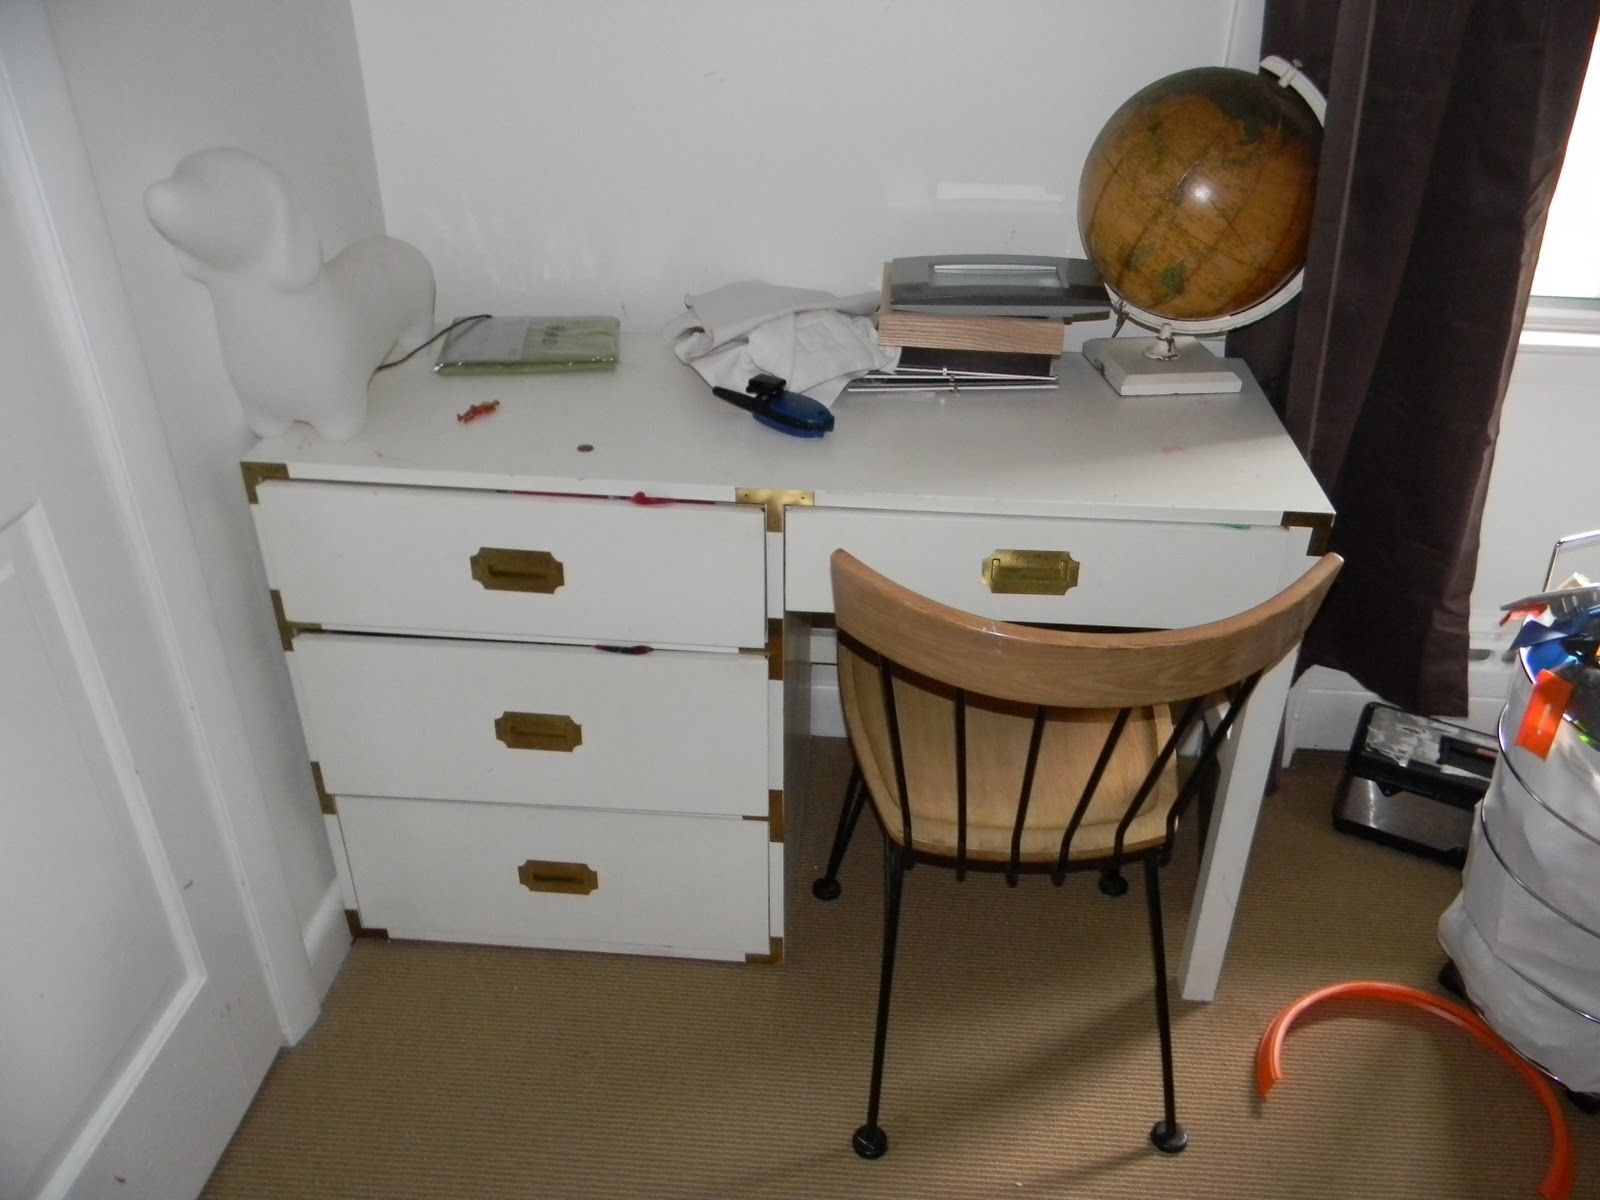
messy desk is staying, mess hopfully not

I straightened the artwork, and noticed the o-m-a-s is mysteriously missing from Thomas' name. It was there the other day.
Note the baskets of Hot Wheels dumped over. I make myself nuts and organize them by car size , WHY?, because it makes me feel better when I'm done. Does anyone else organize their kids toys and then get annoyed when they dump them? Why do we do this?
They also love to drag there blankets allover the house to build forts and nests, which is fine, but its another reason why I never do their room. It always looks like an unmade bed.

Enough of my whining and tangents. On a good note, the little homewreckers have some expensive nightstands. I found my little pagoda treasures on Pieces painted black for ...


Yeah, that was a great find. Now I'm contemplating a color to paint them. My first choice was a  Prussian Blue, but I like green too.

The following are my fave boys rooms. The first one is my extra fave... maybe because I'm picturing them all neat with ascots and a pocket square (for the boogs), having calm deep conversations  with each other. Thomas is sketching, Joe is quietly organizing his sock drawer.... one  can dream.
Some black headboards...
i like.

Love the green chests, that would be the color I'd pick for the night stands...

This is my neutral wildcard, least likely to happen because I can't seem to stay away from color. Look at my fabric pick!  Maybe when they are tweens.

I've always loved Lulu's, and I want the artwork...
What do you think?


Faux Tortoise Shell How To (and more)


Alright, I know a lot of you guys have been waiting patiently for this one.
  Sorry it took so long, but here is your Faux Tortoise Shell 101.
  I'm so glad all my years of decorative painting are finally good for something. 
Get the piece your want to transform. Prime and paint in a Cadmium Yellow. (We will get to the turquoise version next.) I actually found a Valspar spray paint from Lowe's in a bright yellow (Bumblebee) that worked well...
If you have a larger surface I recommend dividing the area. Tortoise shell is usually an inlay, and therefore done in smaller pieces. I divided my table into thirds, drew faint lines and taped one section off.


Next, I mixed my glazes. I used 3 parts latex glaze to 1 part paint. Use artist acrylics for your paint.  The lighter glaze is made up of raw umber, yellow ochre and a bit of burnt sienna. I unfortunately was out of yellow ochre and raw umber so I used regular a Ben Moore paint I had lying around that was close to the final glaze color. *This made it more opaque and cloudy, not really what you want, but will be good enough if in pinch.

The darker glaze uses burnt umber and black in equal parts.

Brush on your lighter glaze and sponge it off with a damp sea sponge...


Using a softening brush to feather the glaze by lightly making crisscross strokes over the area.
-THIS BRUSH IS SUPER IMPORTANT!!!-
click here to see where to get one for $20. Mine cost $32. You need this brush, or else you'll get a big fail (see below in the turquoise section) like I did when I tried to paint this with an old, beat up one.
Next apply the darker glaze in patches/splotches. They can be big or small depending on the look you want.


Lightly sponge off any very heavy areas and soften... alot.

The softening gives it a cloudy, fogged out appearance.

Let it dry and repeat for each section.

Spray with two coats of polyurethane and you are done.
Easy, right? It really is, you just need the magic softening brush.

Now for the turquoise version. I got alot of emails and how to requests about Jennifer Boles
mantle...

I know there were just as many haters as there were lovers, so haters, just skip this next section.
I happened to think it was pretty fabulous and brave.

So first paint your piece. Once again I scored with a spray paint (Valspar- Mediterranean), such a smoother finish than brushing it on.
Brush on the darker glaze from the last section, and wipe off. The main idea here is to mute the base color a bit. Let it dry. Add your splotches like before and go to town feathering and softening...


And that is it. So what happens if you don't have a softening brush?

FAIL!!!

So there is one more finish Jenny from Little Green Notebook had posted about. This one on a mirror from Todd Romano...

I was kinda digging it, so I sprayed a lamp I found for $2 turquoise
 and striped away using the leftover dark glaze.


It started feeling a little Beetle juicy, and I sorta fell out of love. I did the tortoise on the base.
My little lamp just isn't as cool as Todd's mirror frame.

"feel sorry for me, I'm just a sad $2 lamp that got sacrificed for a blog"

I did shoot some video on the yellow tortoise shell,
 and I will post it later in the morning once I get a chance to edit .
If I left anything out or was confusing just give me a shout.
Thanks!

Have you seen this?

I'm a spray-aholic, and how did I not know about this...
I saw it on the Nate Berkus Show the other day.

see all the shiny stuff on the wall?
it used to be regular glass and they sprayed the backside with this...


And boom. magic. It looks like mirror. You can do vases, glass plates and trays, glass lamp bases to look like mercury glass/mirror.
At first I thought, great, I can spray my furniture to look like mirror... but no. Only glass. It makes the unsprayed side all shiny and lovely, and the back not so much.
Still pretty cool. Feels good to get out from under my rock, because I'm sure this stuff has been around for a while.
So here are some examples of stuff you can make...


Time to get spraying.

Cryptic News


I have been working on a new little business venture folks. It kind of has been consuming every waking second and I've been neglecting a lot of people and projects. Sorry.  I'm pretty really excited about it. I just sent some designs off to have made into samples. All I can tell you right now is that it will make your life more fun and enjoyable, and you will want to hack everything in sight. (Wishful thinking on my part.)
I will give you a sneek peek when the samples come back and fill you in on details as I can. I promise.  I have a business partner and have been given a gag because they know I suck at keeping secrets.  I'm just relieved the initial design phase is over. I can finally take a deep breath and get back to my reality, hug my neglected kids and hubs, post some crap on Etsy like I promised, and clean my house. Bear with me. It will be awesomeness. I hope.

Just because its Purty


These days I rarely have a moment to flip through a fashion or shelter mag. I have stacks piling up calling my name, but projects, clients and kids call louder. I rely on blogs and bloggers to keep me in the loop and inspire me. Most of the time I'm like an unmade bed... hair in a ponytail, wearing one of three "high rotation" outfits,  paint under my nails, eyebrows in need of a tweeze... I can go on and on. I don't focus on me enough and it showing.  One new blog, Gold & Gray, definitely gave a much needed wake up call
of girly motivation. 
Lily, its author,  fills it with such soft pretty pictures.
They all have a calming, feminine vibe which is much needed in my hectic testorone run life.

After browsing her blog I wanted to glam myself up, ditch the jeans and sweats
that have become branded to my bottom...
maybe go for a run while we are talking bottoms.

Buy myself something gorgeous...

or maybe some flowers...


Give myself some me time.

Disconnect with technology and curl up with a good read.

And most importantly be a girl.


Definitely go check Gold & Gray out and take in the lovely scenery while you are there.

LinkWithin

Related Posts with Thumbnails