
So it all started Friday.
The sad, vanilla guest room, loaded with all the reject furniture.

It needed major love and its day had come. My niece Ashley came up to visit and the poor thing got sucked into my madness. Its good for her though, she is only 22 and now has mad painting skills. Here she is all smiles when we started...

We looked like hell that day, so I promised her a better blog debut.
I stole her cute Facebook profile pic...


Oh, and we painted...
still smiling because its still early.
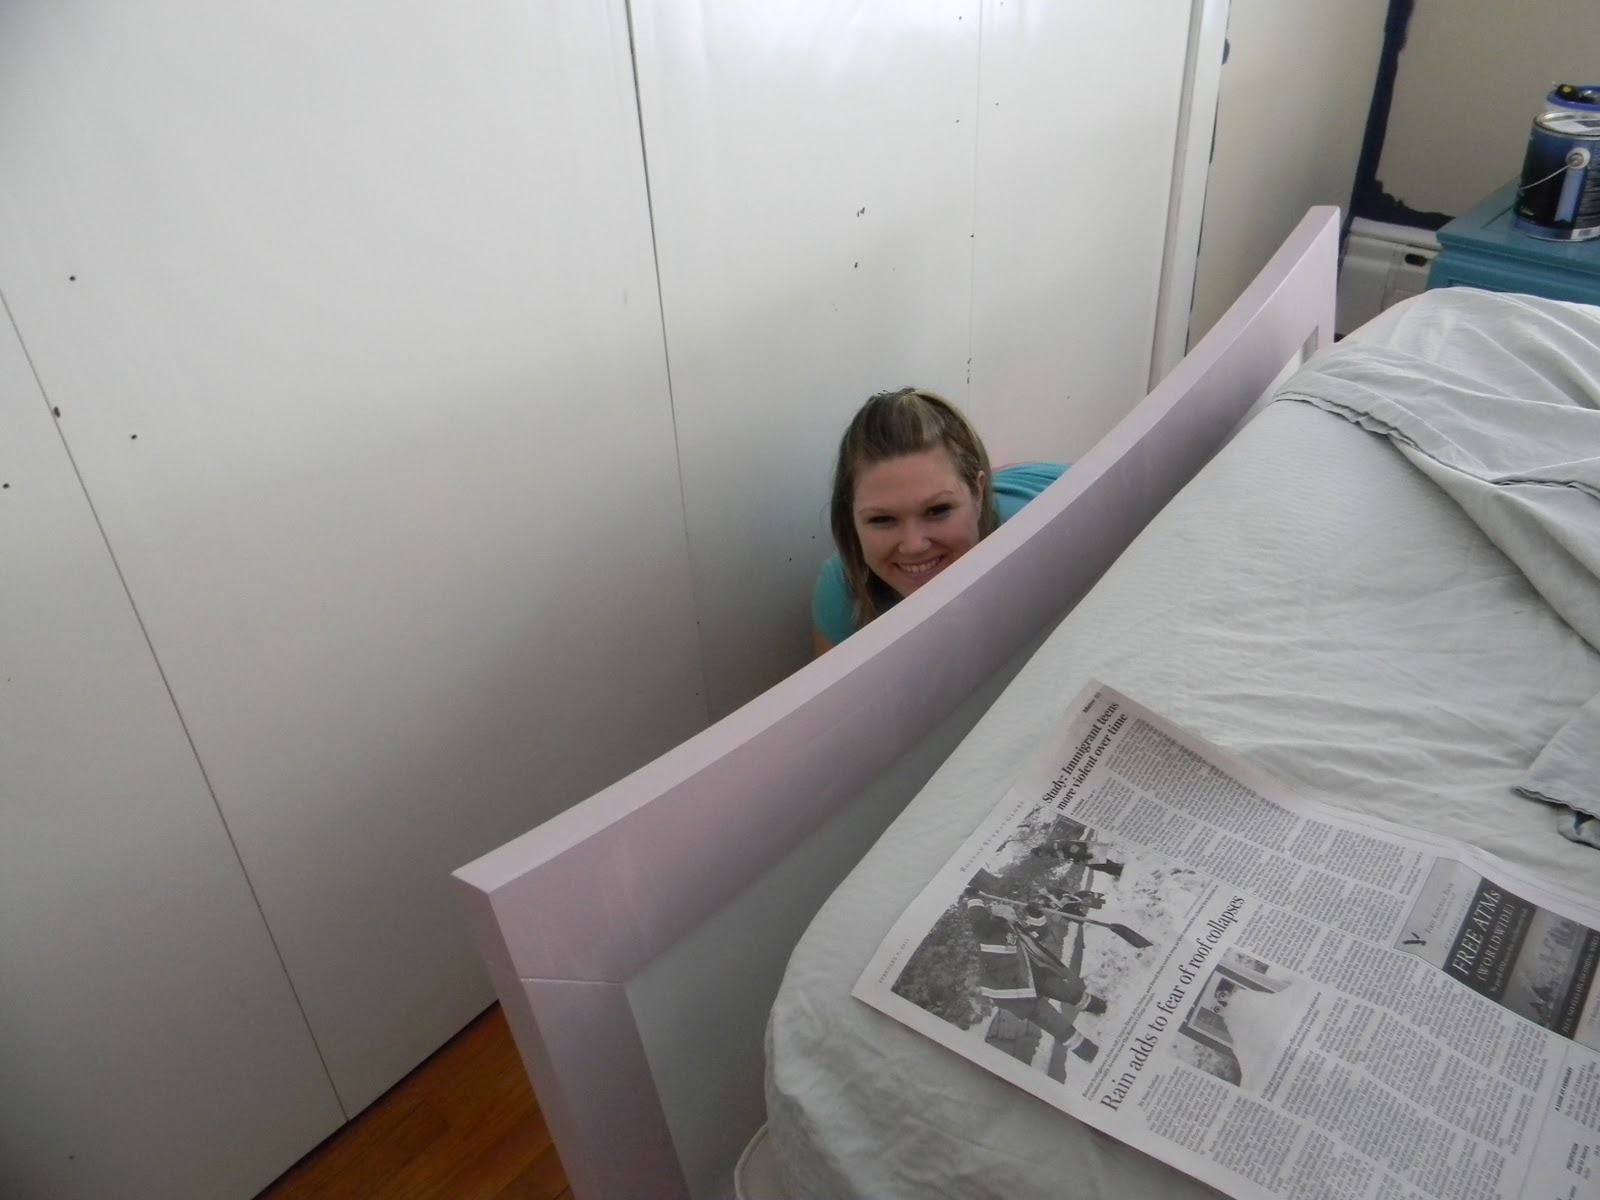
We painted the bed C2-Mod and the walls Ben Moore Kensington Blue.
I have to sing the praises of Ben Moore's Aura paint.
ONE COAT FOLKS!
I'm talking navy over tan... one freaking coat.
HIGHLY RECOMMEND!


I taped out the chevron stripes over my GINORMOUS closet doors.

When I pulled the tape to adjust it I had a big BOO-BOO.
Nothing a little sand paper and paint can't fix.

Ashley modeled some chandeliers from my collection in the basement...

I actually changed out the fixture because my Dad is MacGyver and I was forced as a kids to help renovate my house from grades 1-11 instead of playing with th eneighborhood kids on weekends. Turns out it was a good thing for life skills.

Back to the closet...
My kids were home sick, so I set them to work redesigning my blog...

The one on the left isn't completely naked. I do dress him, he is just in a shirtless phase.

I realize I'm recreating my childhood for them. Life skills, life skills.

Meanwhile the rest of my house went to complete hell.
Stuff thrown everywhere.
The room still needed something, so I decided to make a new stencil.
I have a starburst obsession, and I looked to my collection of old brooches for inspiration...

and sketched until I got a pattern I liked.
I decided to make the starburst 24" wide so I scaled it out on mylar and sectioned it like a pizza to make the pattern easier to lay out.


I started at the center and worked my way out. I cut it out with a utility knife.

I positioned it on the center of the wall and used a low foam roller to apply the paint.
This was so much faster than stippling, just make sure you don't overload the roller.


I decided to space them 12" vertically and 24" horizontally. This pattern is so forgiving and can be done in random spacing too.

Once the large starbursts were done I need to do the small sections along the ceiling.
I only needed a 6" section, so I traced it on a new piece of mylar ( I tried it with heavy vellum first, but it curls after it gets wet with paint, nightmare) and cut.

I then finished the upper walls.

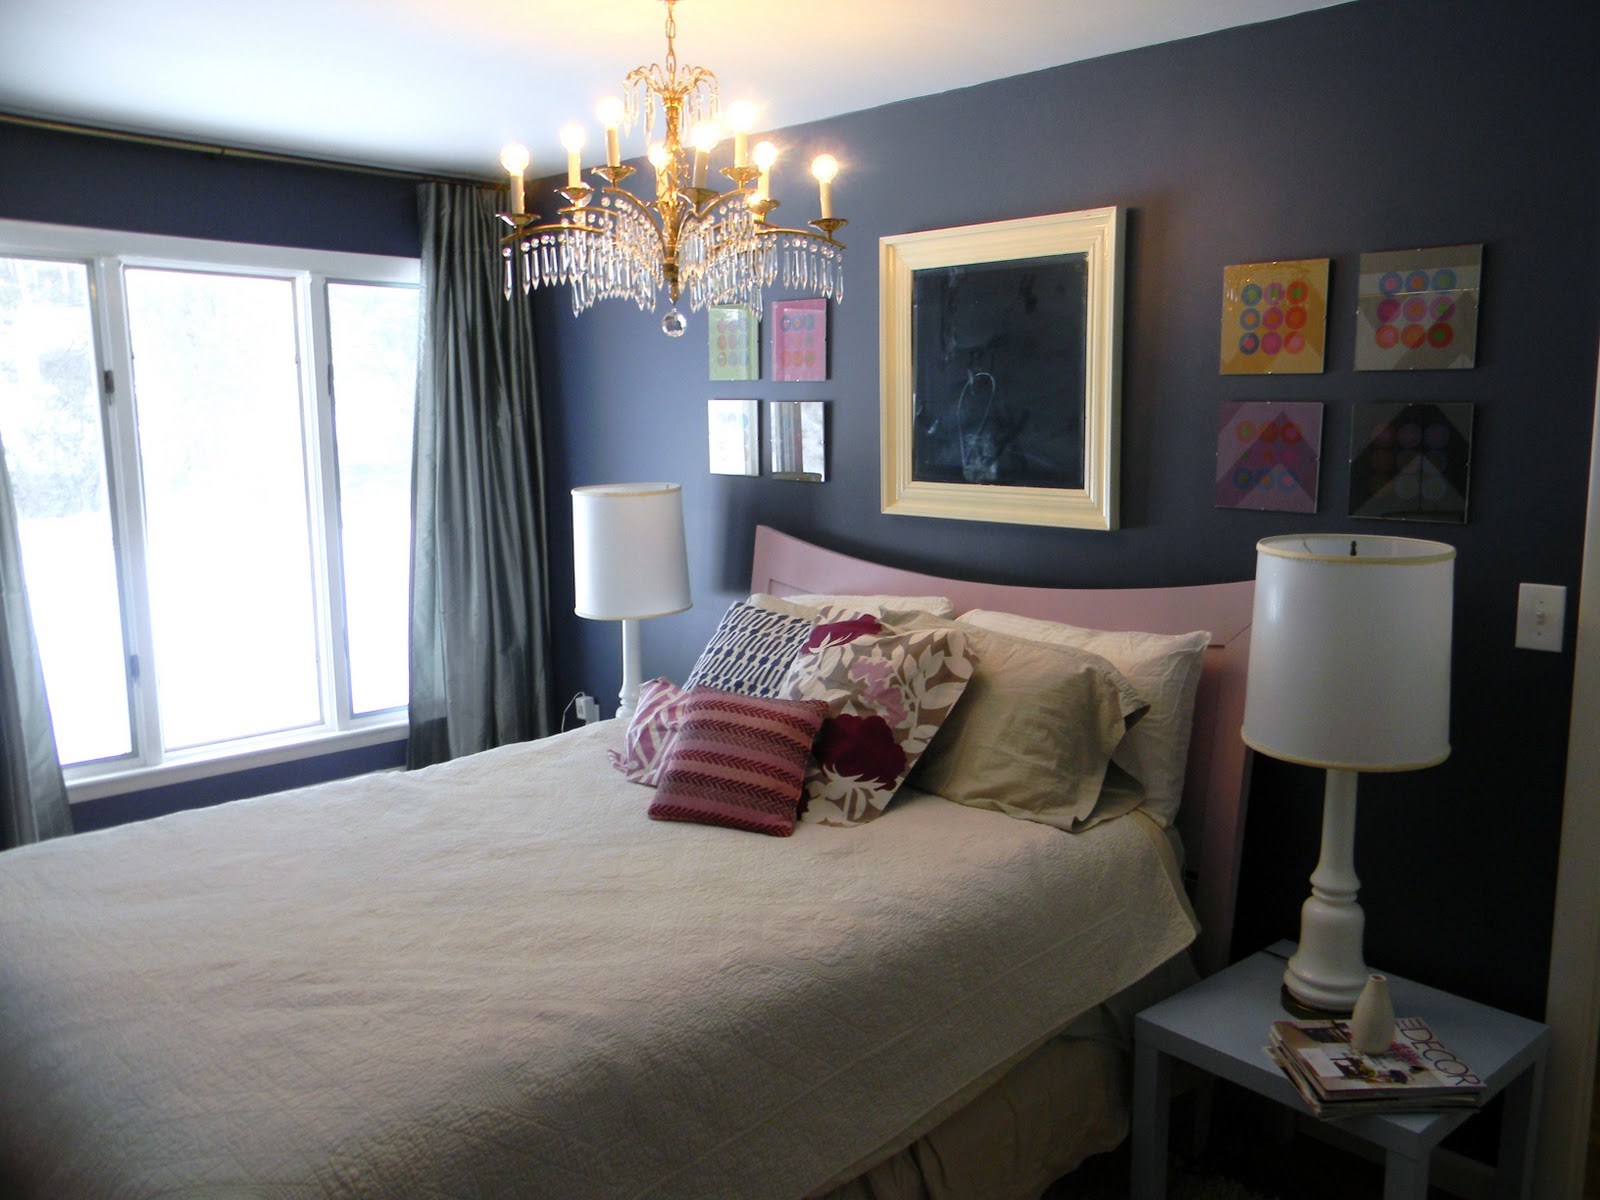
Then I stole a whole bunch of furniture, accessories, and a rug from other parts of the house...

Now go see the afters HERE.
And yes, I'm officially nuts.

5 comments:
This is giving me hope. I want to stencil a wall that is arched against the ceiling and and dreading how I'll do that part. I think the answer is just cutting and recutting the stencil a lot of times. Your room looks ridiculous. As in I want to move in right away.
I just found your blog and I love it! What type of plastic did you use for your stencil? I want to do one of a puffy dandylion :)
Thanks!
Thanks! I used 10 mil mylar I got here...
http://www.stencilease.com/db/index.asp?catagory=blank stencil material&all=1
Just found you and love your style - this stencil is fab (though I don't think I have the patience to make my own). Love your little naked - I mean shirtless - son! Love that you love color - me too! And vintage - my fave! Following along.
Kelly
That looks amazing! I really want to try stencils on an accent wall
Xo
Post a Comment