
I have hacked this light in my head so many times!
Ever since I first laid eyes on C. Jere's mid-century beauty I knew I would have to figure out how to make one (because there is no way I could afford the real deal).
I just finished prototype #1.
So here she is on my guest room ceiling:

This is how I did it.
I took this fixture from my parent's house when they were swapping out lights. It is actually really common and this base was hidden by an ugly stain glass bowl.
I liked the simple sputnik like arms and I knew it had hacking potential so it went to the hoard.

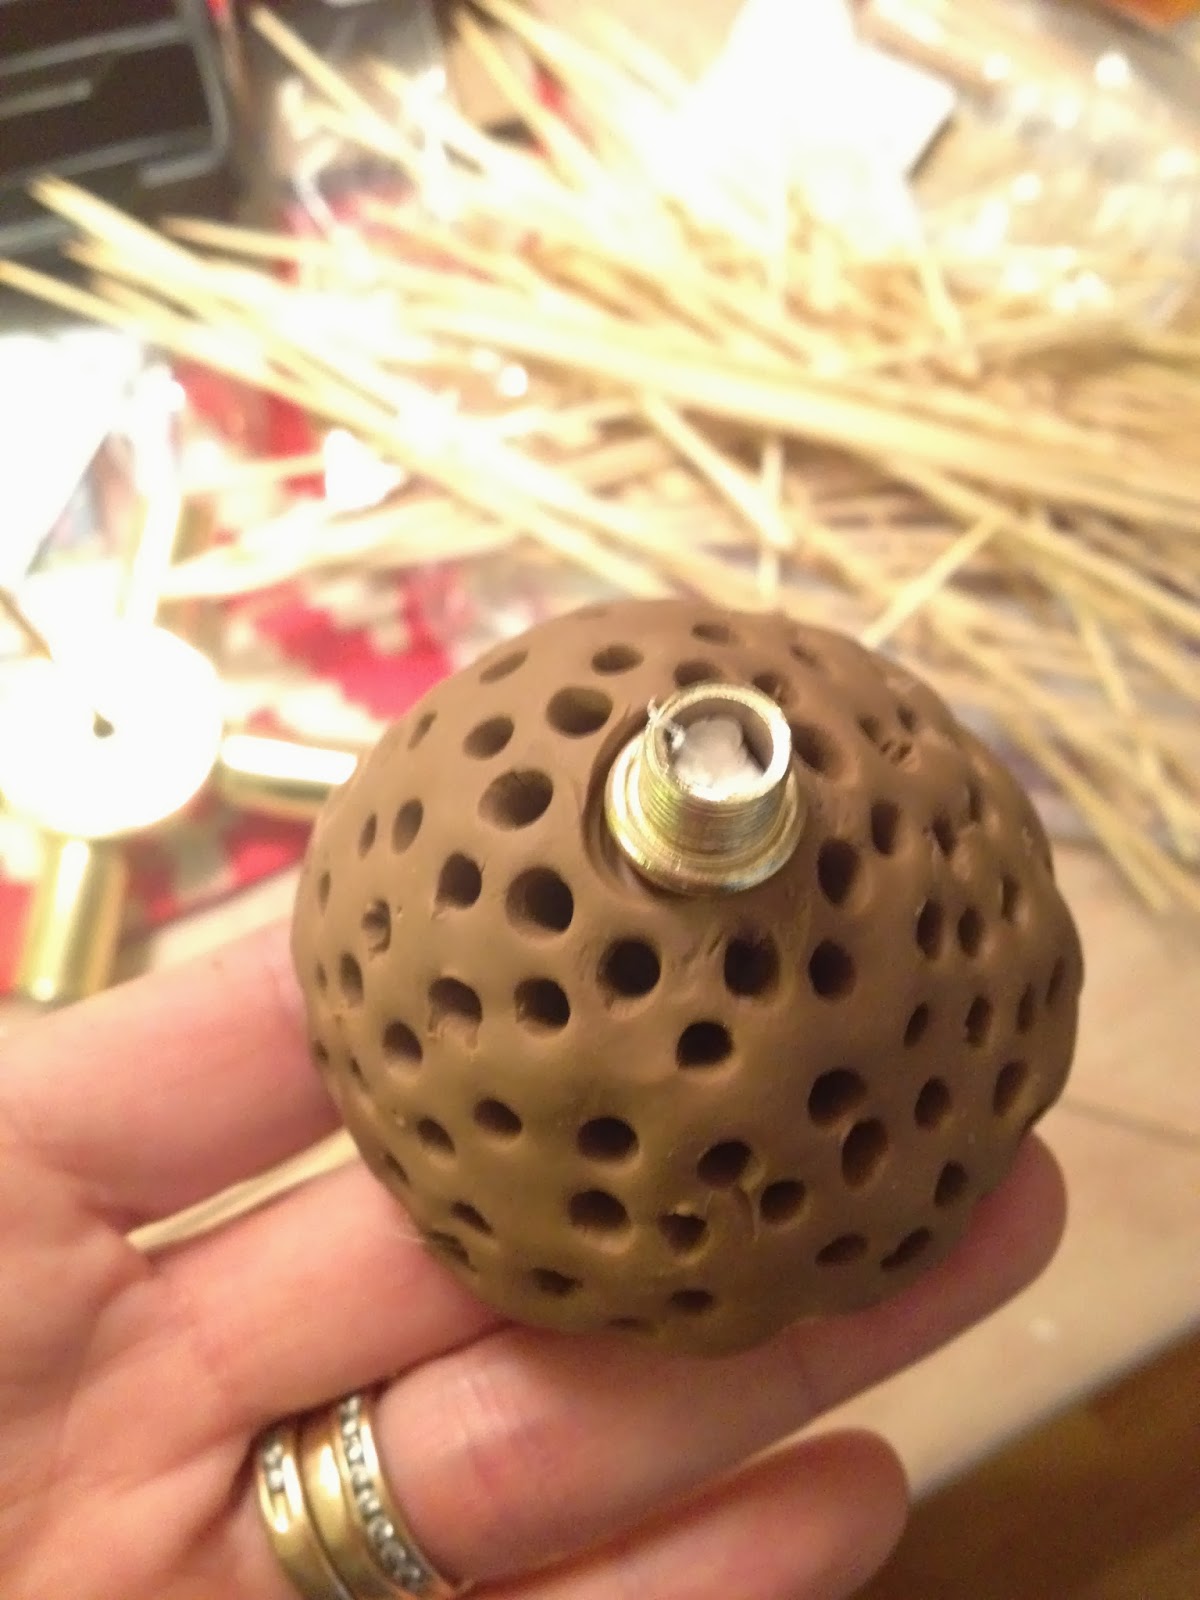
After many failed attempts with styrofoam balls I turned to Sculpey clay.
(any clay you can bake to harden will work)
This is also good for making little urchin sculptures.
I rolled out a ball the size of an apple:

cut it in half:

jammed a pencil through both sides:

I took my fixture apart and jammed the center rods through:

UPDATE!!!
Robin gave me a fantastic and much safer option to teh wooden skewers.
They are 13-14 gauge wire that comes in various lengths. Packs of 100 cost $12.99, and they won't catch on fire if it gets too close to a bulb. Basically metal skewers.
Paint them up & carry on...
Then I took wooden kabob skewers insulation supports in various lengths (the kind you find in a grocery store) and jammed them into the lower half portion of the light...
(lots of jamming going on)

this is the part you will see from the bottom when you will be looking up at the light:

I pulled all the kabob skewers insulation supports out:
and started doing the same thing for the upper half.
Make sure when you do this upper half you leave clearance for the ceiling and light bulbs
(if they are close).
Once you are done, pull the kabob skewers insulation supports and bake them on the rods for time listed on the package. (If you have a giant oven and can leave the insulation supports in, do so.)
Mine was 45 minutes at 275 degrees.

I then sprayed the kabob skewers insulation supports gold:


Let the clay cool, and then spray that too.
Reassemble your fixture.

You can start reinserting your kabob skewers insulation supports, but I found it easier to do once the fixture was installed.

I dipped the end of the kabob skewers insulation supports in Liquid Nails before inserting it into the dry clay center.

I slide the lower clay half up the rod closer to the bulbs and affixed with glue.
(Use tape to hold in place and keep from sliding down until dry.
Then BAM!

My cheap Brass Urchin Light.
I will keep you posted on how well it hold together
and take some better pictures of the room once it's done.
(remember, this is the junk drawer room- so below this light is pretty horrifying)
Happy Weekend!

13 comments:
oooohhhhh! I love it!
You are freaking unbelievable, Danika. Awesome!
I share your love for all things urchin and think you've done a great job on this prototype. Looks great. You did say this is in the junk drawer room and perhaps this fixture is more for looks than function, will it actually be used for long periods of time? Do the bulbs become hot to the touch? Do the wood skewers become warm? I'm house-fire-phobic since I had one so please forgive me, I'm not in any way meaning to be critical, just cautious. If you do make additional prototypes and want to try metal, in the insulation aisle of any hardware store are metal "skewers" approx. the same size as the bamboo ones you used, and they'll be in a box labeled "insulation hangers". Not badly priced at about $20 for 100.
You need your own TV show!
Robin,
Thanks so much for the insulation hangers tip! I have never seen them, so I will be on the lookout. I have only found thin brass rods that were about $2 a piece
so that is fantastic! Going to update the post and add them to it!
I adjusted the clay balls so the skewers are set a little over an inch & half at the closet point from the bulbs (using 25W and testing out how hot they get. Will keep you posted.) I am definitely going to replace with the insulation hangers though for peace of mind. The room doesn't get a ton of use, but you never know!
Thanks again!
Danika
Amazing! Is there anything you can not make? You know I've been dying for an urchin light hack so I love this!!
You.Are.Fantastic.
Love this. We basically have the same light- http://instagram.com/p/eTMWMCG6bg/. Perhaps I'll take ours to the next level!!
That is so great along with a myriad of other things you have done! You are so good at making things work. I love how everything is coming together in your house - your outdoor space, living room, etc. I wish you lived in my neighborhood - I could use a friend with some decorating vision.
this... is kind of amazing. great idea!! xx d&m
Gorgeous works of art and perfect for interior design. I'm curious with that ball, is that a modeling clay?
It's great design brass lights. What an idea of creating in this style. Thanks, for the post. I always like to decorate my home with different variety of lights.
Love this so so much!
Post a Comment