Showing posts with label rug. Show all posts

Spotted Rug for less than $100 and a Guest Post

Sometimes a DIY happens out of necessity.

I was invited to partake in a guest post series about Dream Nurseries by the ever fab
Dina of Honey & Fitz.  
As I began my nursery mood board and it all centered around this rug:

It feels fresh, graphic, can work in many settings, and was perfect for a little guy's nursery.


I had saved the above image to my file of designer porn and as it turns out I had no resource for it. 
I searched and searched the internet for hours, and came up empty.  

Update:  A big thank you to Beth and Leah for sending me the source for this rug. It turns out to be an Oscar de la Renta, named Spain 1971, and has been offered many times up for sale at OKL.  Last sale it was on for $1899!

  I wasn't going to change my nursery scheme and I was way too obsessed with this flipping rug, 
so I decided I would just have to figure out how to make it for you.  
Turns out to be really easy. 


Here is the HOW TO:
1. Get down to your local carpet place and get an off-white remnant and some discontinued samples in a similar color/ material to test on.  
There was a $40 5.5' x 8' remnant at the store that I plan on doing the full treatment to shortly. 
Most places will bind the remnant to the size you need for an additional fee,
but if you are feeling frugal here is a site that teaches you several ways to do it yourself.

2. Start with some RIT dye in your color of choice.  I tested with Navy, didn't like (too purple/black) and switched to plain Black for the final rug sample.

I got a couple rug samples.
 Some stores charge $2 for old samples, others give them away for free.
(Thank you Bass River Flooring!)
The one one the right had a subtle pattern, but that was fine since it was a "tester".  
Both samples are made from Nylon, so I followed the instructions on the dye bottle and added vinegar to the solution.  For extra permeability heat the solution. (I didn't.)

I highly recommend testing this out on swatches first until you get the hang of it and the look/color you want.

I tried a bunch of techniques: splatter painting, spots...
 and even zebra. 
(p.s. this is actually the Navy color dye here- not very blue right?):
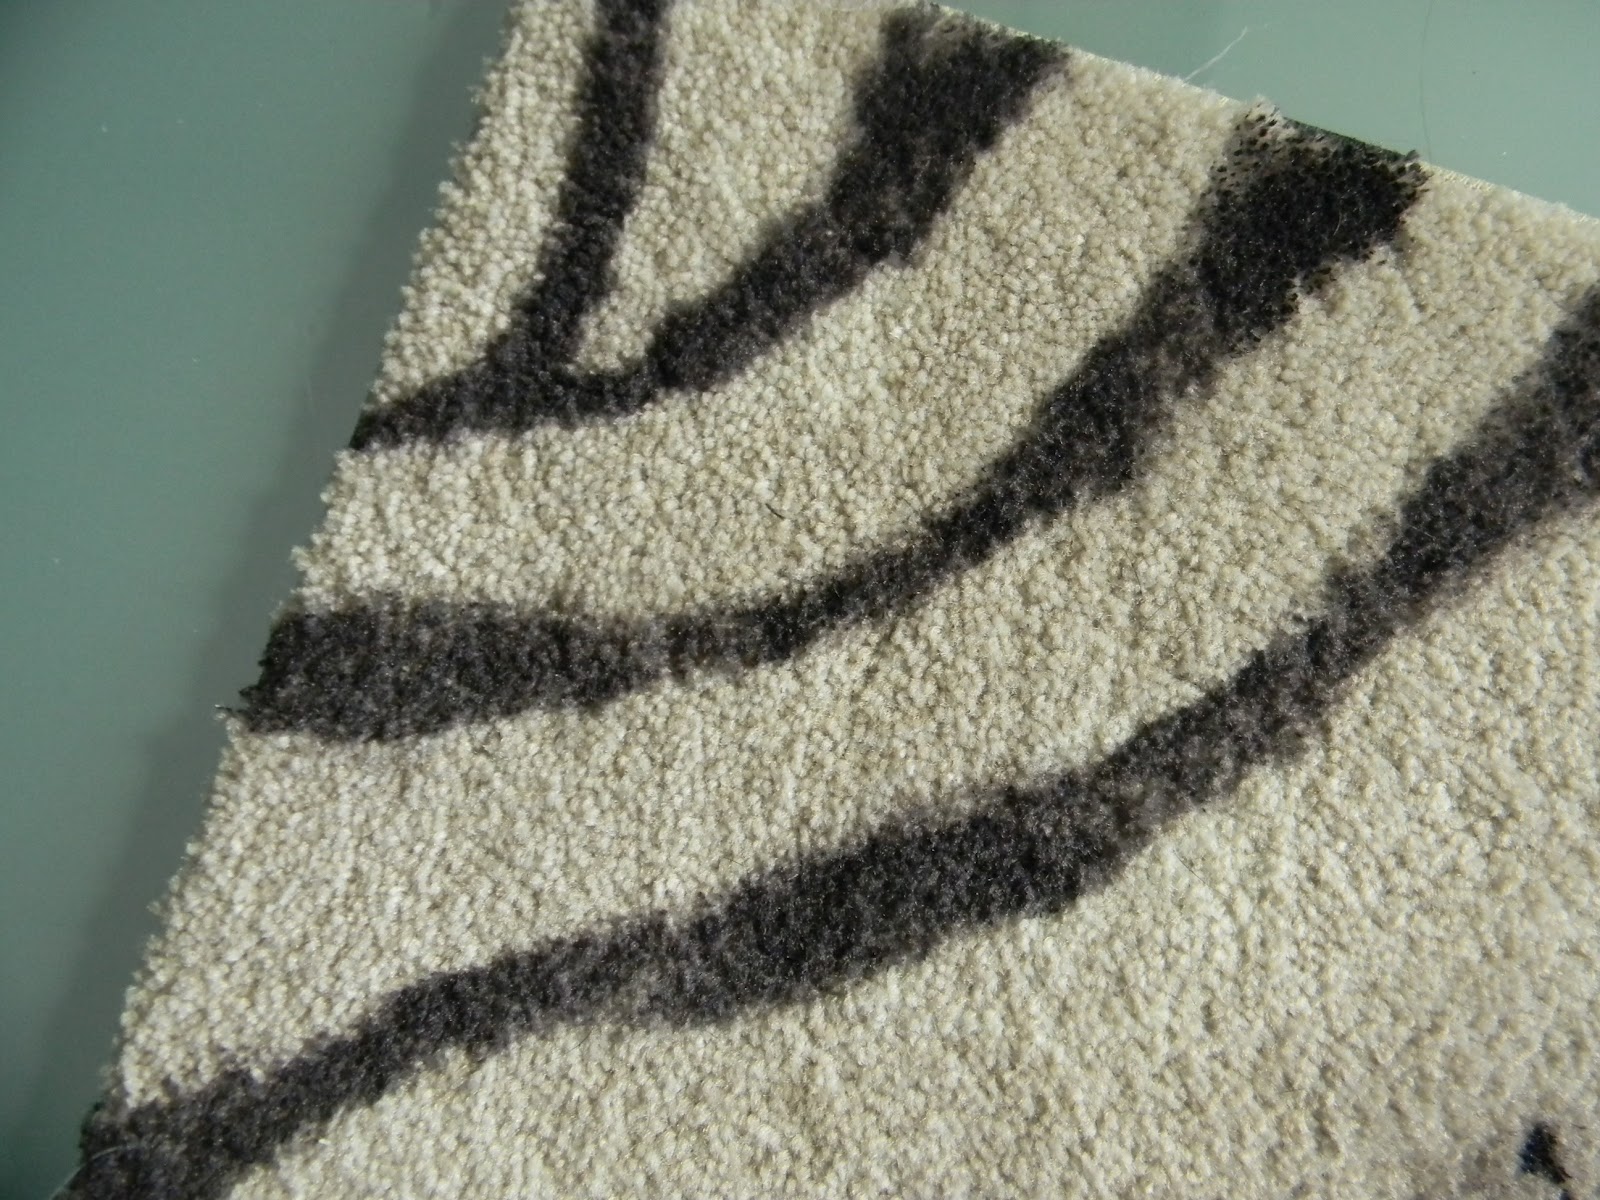
 In the end I decided to go with my first choice, 
SPOTS.

3. I printed out the inspiration image to make sure I kept the same feel, 
gathered my brush, rug and dye & wore gloves.  You can also use black paint that has been diluted 1:1 part with water.  The final result is much stiffer though.
You will also need old rags or towels. 
(more on that later)
I put a piece of plastic under my rug and began painting on the  spots:

 I used the flat edge of the brush to get a feathered look on the edges:
 When I was happy with it I stopped.  It took me about 25 minutes to do this 25"x17" piece, but the good news is I got much faster once I figured out my technique.

4. Now, about the old rags or towels...
I used them to blot off the excess dye. This makes for a softer, faded look and keeps excess dye from rubbing off on your feet.  It also dries MUCH faster.
I laid the towel over the rug and pressed everywhere. 
A rolling pin covered in foil works great here.
 Pull off it off and you have a matching towel... yikes!

 I let it dry for a day and did a rub test:
This is all that came off, not bad.
If you use diluted black paint it isn't even an issue.
 Finished pattern (actually makes a sassy little doormat):
 Up close:
 It feels soft, not crunchy.  
FYI- You can also achieve this with Sharpie markers, just takes a lot longer!
Check out this tutorial for vinyl seat covers.
I am really excited about the finished product and so happy to know my rug obsession can become a reality.   I am off to get myself that remnant to make a runner for my hallway or maybe a rug for the office!  Hmmmm.... decisions.


Beni, Sock Test, Cheryle's Butt and Power Tools

My Homemade Beni Ourain Rug is done for now (see how to here).  Its summer and hot, and I have ADD, so I went with a partial criss cross design. I'll do it up more if I get the urge come fall, but I kind of like it open ended.  I did some rug swapery and threw it in my living room.  I'll take better pictures once I fix this room up.  Now all I see is a stark white coffee table begging to be painted peacock blue or something...
So here is the update on Rit Dye with a sock test.  Before...
So I dragged my feet up and down the stripes and got this...

Not too bad. Similar to a new pair of dark jeans on a white chair. I think the fact that I watered the dye down helped a lot.

So then Cheryle showed up in white shorts and I made her sit all over the rug.
All in the name of blogging.  Her shorts looked great and she refused to let me take an ass shot.

So to recap... Rit Dye + shaggy wool rug= Beni Ourain on the cheap. A Flokati rug would work too.
I'd love to do color blocks for a Boucherouite look next. That won't be any time soon. The DIY bug has almost left the building and the beach is calling.


My kids want to make skimboards and found a tutorial on YouTube, so that will be next...but first Cheryle and I have to whip up a sunburst mirror for one of her clients.

We played with power tools, one of my favorite things to do. 
(In the basement of WAY too much crap)
Making another one of these from old fence pickets... see how here.

Its going in a pool house, fancy, I know.
I'll post pics once its up.

Have a FANTABULOUS weekend!
xo

Make It: Beni Ourain Rug


I forced myself to do some DIY goodness today.  I had an old white wool shag rug I got from Overstock about 5 years ago.
It had been banished to the guest room because it sheds like a German Shepard ...

  So.  I have had Beni Ourain rugs on my wish list for a while, and decided to finally attempt my idea of dying my white wool one myself.  First I mulled through some patterns...
and decided on a basic criss-cross...
safe, will go tailored or eclectic, whatever my mood.

Next I bought some black Rit dye and mixed it up in an empty spray bottle with some salt...
Did a test swatch. Wanted it a bit darker, so I added more dye.

And then I got to work.  First I laid it out with a dropcloth underneath. Next I "drew" my first line in with a ruler...
 I took 2 old plastic cutting boards (mine were from IKEA, super cheaps!) and an old ruler and began parting the rug into sections along the line, using the cutting boards as protective guards...
I used a bucket and a yoga block to hold them up (use what you got!)...

and I sprayed on the dye.

You will need to massage it in so wear gloves. Just keep repeating as you move down the line...

And repeat and repeat and repeat...

ANd repeat...


So this is where I am at.  Check back in a day or two to see it finished and dry in its new room.  And I can tell you if there is any weirdness with the dye too.  THis takes a while and hurts your back from hunching. You've been warned.
But will be worth it if it works.  Free Beni (well almost) and my poor rug gets a new life.


UPDATE:  It worked and it passed the sitting on it in white shorts test.
(see here)


Thoughts and Feelings on 70's Porn Shack Chic

What do you guys think about these Peruvian Alpaca rug/wall hangings? Hate? Like? Meh?
They come in a bunch of patterns and you can pick them up new or vintage...
I personally like the geometric ones.


 And the scenic ones I'm still a bit on the fence with...
(I swear they had one of these on Three's Company)
because they make them in tons of crazy scenes, I mean unicorns? COME ON. Its one of those so bad its good things...
Well, I happened upon on this weekend at a yard sale. It looked like a giant dead dog all rolled up on the table.
I rolled back the corner and saw this...


I did the happy dance not knowing what lay beyond that and grabbed it.  My husband looked over at me and my big furry score and gave me the "really? that looks all vintage 70's porn shack" eye roll.

And yes he is right. It does vibe some Dirk D. But its not like I'm gonna hang some macrame plant holders and beaded door curtains next to it.
So I unrolled it once I got home and met my new alpaca and Peruvian tender . Not quite what I was expecting,  was honestly hoping for more geometric, but the amount of work that goes into one of these babies is impressive.
Its actually pretty big and  is old and fragile. It needs to be fabric backed and repaired, but I think this could be funky... somewhere. The hubs hates, so I'm not quite sure if it is staying.

Thoughts? I already live in a ranch built in the above said era, so this could be pushing it a bit.
Though the kids have named the Alpaca "Ted" and like to pet him.


Oh, and while on the topic of shag and kids,
 want to know the worst pillow ever to buy if you have kids?
These...
They may look all Cookie Monster kid friendly and stuff, but kids loooove to pull it apart.
I've given up. No matter how many times I've begged, yelled, etc. I keep finding little hidden piles of this when I lift the pillow.
 Its gonna be bald soon. Lesson learned.


LinkWithin

Related Posts with Thumbnails