Showing posts with label projects. Show all posts

Tweaking...

I have been busy freshening up the painted Ikat Chevron in the entry.  It needed to be brightened...
AFTER

 Added some greens and pinked up the lavenders.
More spring, Less winter.

 BEFORE

P.S.
The bathroom wall has a coat of primer, and Madame Butterfly is moving in shortly.

Spring and it's effects on me

I reallllllly want this...
I saw this over on Heather Bullard's FB page yesterday and have been daydreaming of pretty little herb beds wrapped in wattle.  It also has me itching for spring!

Love these beds too...


I have been scouring the internet for places to buy such panels, but it seems the UK is the only one onboard.  
I found a how to here, but I really don't have the time, patience or access to enough branches on my property. 
 Anyone have a good source for wattle panels?

On the home front, it is school vacation week.  Both kids have been fighting a lovely cold that has led to a cough, and now it has landed in their ears. Boo.  

So to keep myself sane I have made them little beds on the couches, got ON DEMAND going with movies and I am in spring cleaning mode.   I am painting and rearranging everything!

Here are a few projects I have going...

Priming...
The big bamboozle is finally getting its day to shine and is going green...


It is now the center of attention in the family room.  Sadly, anything with a TV on it is the center of attention in our house...


It is huge, like 8' long and fits a lot of crap.

And the entry is getting zhushed up.

Pretty french table going dark, and some art and lighting is about to change...


All because I am trapped in the house and hut happy for spring.

I hope to have some afters for you by Friday.

xo
Danika


Guinea Pig, at your service

I blogged about this back in August.

Well, I'm finally going to try it. This will be my last hurrah of the season. I figure I'll keep riding my wave of manic spring fix-up frenzy until I eventually crash. (Yes, I will stop painting things soon. I do this every year at this time, and usually run out of steam just in time to get outside in the nice weather.) Then its all beach and mojitos and crazy projects to do while drinking them.

I will be painting my kitchen counters this weekend. It is all part of "The 5 Year Fix". The kitchen is dated, 1964. Its actually sort of cool in a "Brady" kind of way.

 I have flat front walnut laminate cabinets and off white Formica counters that have some burn marks. 
 Oh, and I can't forget the sweet original white wall ovens.  The fridge is dying, so that my be replaced soon.

We will probably getting around to the "real" renovation in 5 years, basically the life of a painted counter.
 Until then I have been given permission to do what I wish with paint and a modest budget. 
So here is my plan:
1) Paint the counters white, then possibly faux to Cararra marble.

 (Nervous about this, I did decorative painting for 12 years but I haven't done this technique in about 7 years. If I fail, they will go back to white.)
2) Paint the "tall" cabinets white or all uppers. I played around with this on Ben Moore's color viewer...
this helps blend my white appliances away.
tried all uppers, leaving a few walnut pops...
and just doors, too jumpy I think...
3) Replace faucet
4) Paint walls. Currently Turquoise. Need to neutralize. No idea what color yet.
5)New cabinet hardware.
6) Fun part. Decorate and accessorize. I have an eat in area that currently has an IKEA tulip table and white eiffel chairs. Want to switch one of those elements out for either an old limed round table or white caned French chairs I have. (I know this sound like a hot mess.)

I've also toyed with the idea of painting all the cabs to a lighter shade like above.
I have no idea. These are some other inspiration pictures...
trying to work with dark wood...

I'm well aware that I can really screw this up big time and I know my kitchen will never look like the above with just paint. I figure I'll start by fixing the counters and work from there.
I welcome any suggestions or experiences with this matter.
 I will try  or do anything at this point. I am here for your entertainment.
XO
Danika


Presto Change-o


YES! You can change your wallpaper without stripping it or hanging a new one!
 This is my entry now...
Here is it below an hour ago...

What do you do when you love your wallpaper pattern, but have grown tired of the color?

Head to your local paint store. Make sure they know magic.
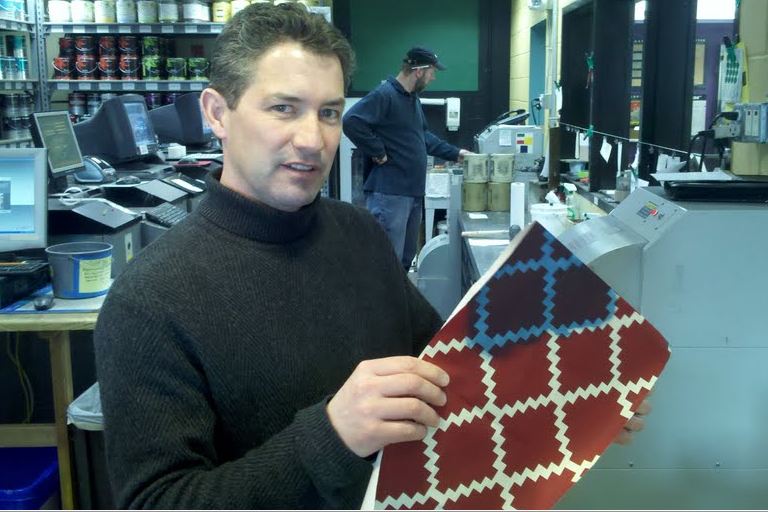
Shaun Clarke; color extraordinaire, owner of Water's & Brown and one of the founders of C2 Paint got a challenge today. He is also my old boss so he kind of expects this kind of crazy stuff from me. 
I love Lulu DK's Chant pattern, but my color scheme is changing and I was done with red. I asked him what he could mix up for me to glaze over the wallpaper and "tint" it to the blue/ plum family. (My new living room scheme.) If he could pull this off he'd be a superhero because I really didn't want to strip this paper. He mixed up a pint of C2 Blackberry and we tested it on a piece of remnant paper I had. I liked what I saw and ran home.

I had a sitter today, so she became my assistant snapping how-to pics.  (Thanks Lindsey!)
I was so excited to do this I didn't change my clothes. I'm actually wearing a skirt and heeled boots.
I'm very impatient, when I get an idea I act.

So I mixed one part Open Time (a latex extender) with 3 parts paint, grabbed a high density small foam roller and went at it.
I had originally planned on taping out each panel, rolling and wiping off  tint (see 1st pic).
That quickly changed when I hit the big wall. All bets were off and it was drying too fast. I kind of liked the way the roller covered, so evenly so I wound up just rolling (and carefully making sure to feather out roller marks). See how fast I'm going? Where is my hand? FLYING! The whole project took an hour.

I did a light second coat to even it out and got a color a bit more indigo than planned, but I likey.
 This picture was taken right at sunset, so its a bit darker than it normal.

I hope to have the rest of the room for you this week.
Its school vacation week so I am home with the kids.
I am trying to suck them into this craziness, making it like a "fun" project.
I have one convinced so far.
Stay tuned.


MAKE THIS- DIY Starburst Wall Sculptures

                            
                                   Have you been lusting over metal starburst wall sculptures like these?
       I have, and I decided to do something about it.
You can make one in less than 20 minutes for under $5.
Here is my DIY...


What you'll need:
- genuine love for all things starburst
-a package of wooden skewers
(I got mine @ The Christmas Tree Shop  for 50 cents, you can also find them in the grocery store)
-a water bottle cap
-duct tape
-spray paint
-Styrofoam ball, mine was the size of a golf ball
-nail and hammer


First, make a hole in the bottle cap about a 1/4" off center with the nail. You will also use this nail to hang the final piece, so make sure you can easily, but somewhat snugly, fit the head into the hole. 


 Next gently press the ball into the cap. 
( I TOLD you I needed a manicure! Look at those things!)


Secure with duct tape, mine happens to be clear.

Cover the entire ball with one layer of the tape, just don't cover the top of the cap. This keeps the Styrofoam from breaking apart. I learned the hard way on my first failed attempt using just a half ball...


FAIL!!!

Use a loop of tape to hold the cap/ball to a table surface. The skewers get heavy and make it tipsy. Starting at the top, stick pointed end of skewers into the ball. Continue working down and around until they are almost parallel to the table.  I used 10" skewers here, so this is about 21" in diameter.

Now you need to gently lift it off the table and transfer it to a shallow pie plate or dish you don't mind getting paint on. 

Choose your color, mine is shiny gold, and give it a spray until its completely covered.

Let dry and lift off plate.
Hammer a nail into the wall so that only a 1/2" is visible.
Gently slide the sculpture onto the nail. Viola! You have a piece of art.

Now go make some more so it doesn't get lonely! They look fantastic in groupings, I plan on doing a group of 5-7.

*You can cut your skewers to make smaller starbursts, or buy extra long thicker skewers ( I've seen them closer to grill season) or use larger balls.  Chopsticks would look cool too.  If you use a larger ball make sure you use a larger cap.
A LARGER BALL WILL GIVE YOU A DENSER STARBURST WITH MORE SKEWERS.
Have fun & make me proud.
Please send pictures of your little starburst families!

My little first born in its new home.
It just needs some friends.

Updated: I'm done and need a manicure REAL BAD

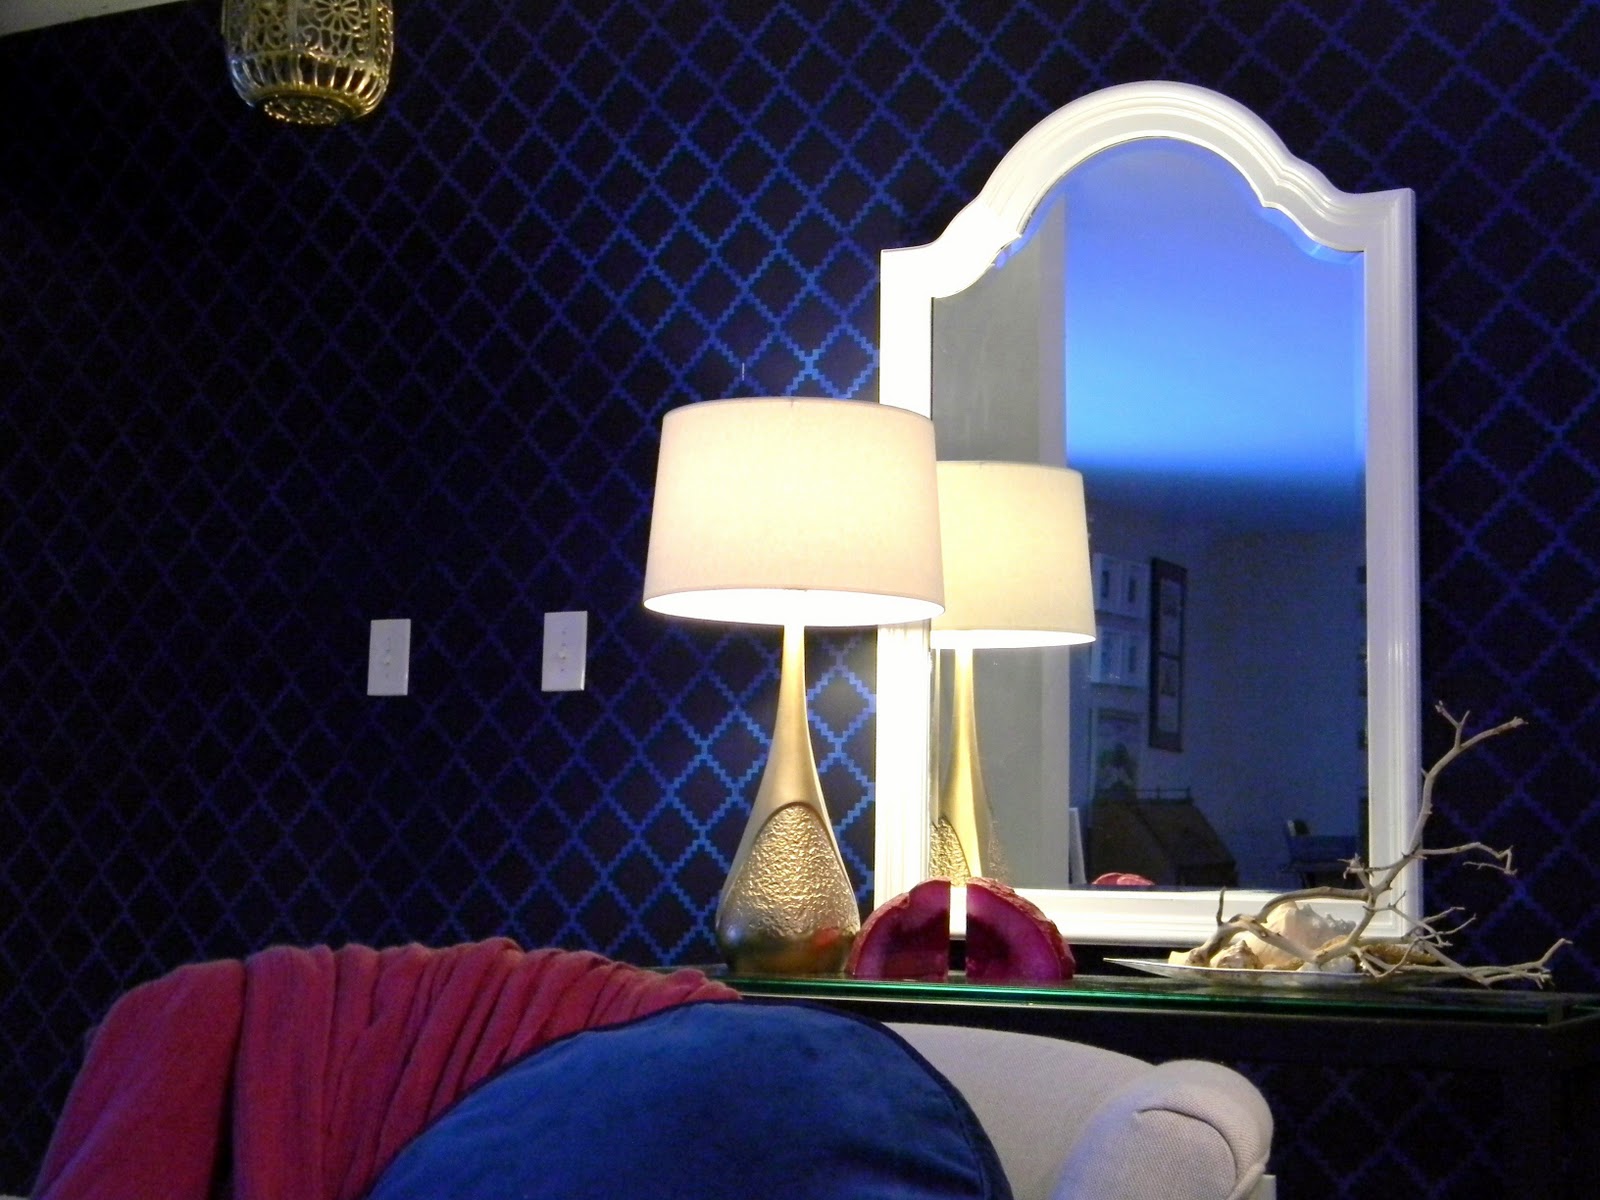
Update: Sorry, I took daytime pics. They are truer to the color. The ones I took at night go very purple. I also changed the lamps. Which do you prefer brass or white? I know I'll probably change them 10 times.
 

The Guest Room is FINISHED! And so is my painting and redoing streak.
 It took 4 days and less than $90.
A LOT of paint, a homemade stencil, new chandelier and accessories and drapes stolen from other rooms in the house.  Its super girly and the testorone in the house will just have to deal.
need an over the top space to escape to... 


Day


Night

 its where I will be blogging from from now on I think...


My house is destroyed from neglecting it, so I'm off to focus my energy on that for a while.

See how it all went down, meet my accomplice, see the BEFORE and
learn how to design your own stencil

And come back tomorrow for a DIY.  I'm making these guys for a wall sculpture...


LinkWithin

Related Posts with Thumbnails