Showing posts with label recession proof. Show all posts

$64, for real!

I haven't been over to Urban Outfitters for eons!  I always forget that they have lots of great inexpensive trendy filler for very little coin.  
It is kind of like shopping at Forever 21 for me...  I always feel like I'm bit too old to be there. I know damn well I would look ridiculous if I bought an entire wardrobe there, but I can always get a cheap bit of sass that helps me feel not so mommy dinosaur.  Anyhow, ditto goes for my house. 

So here is a great little gem, and the best part about this brass number?
The price. 
$64! yes. $64.


And I leave you with some other bargains.

$598


Pillows in general...


And some brightly colored tapestries that are $39.   I suggest making into some slipcovers, drapes, pillows... whatever...at  around 100"x84" you can't get fabric that cheap.


Get this look for lots less...

                       I love these planters from Restoration Hardware, but the smallest runs $129.
They come in two finishes, weathered cast stone and sand.
 I was very pleases to come across the Mandel Planter at IKEA on my last trip.

While they aren't as massive as the R.H. ones, they range in size from 4 1/4"- 9 1/2" diameter, they still can work as porch planters and accent pieces for your outside table. They also only cost $1.99- 12.99.
Their finish is also very close to the "sand" finish above. I actually like it better because it  is a touch browner and looks like dried mud. (Never thought I'd think dried mud was pretty.)

Here are two of the small sizes I picked up, the first image is "as is", the second painted with a gray wash...

 
In case your wondering "Whats up with all the oatmeal Danika?", we eat a freakish amount in our house, and I have a kid with food allergies and gluten issues so I have to have a gluten-free version as well.
Fun stuff.
Here is how to paint your planter to look like weathered stone...

Mix some primer with a few drops of black and thin with a bit of water.
Paint one coat one and an inch or two inside the rim.  Let dry. Re coat if necessary. This planter is treated on the inside so its waterproof, no need to seal the inside.

Once dry add a few drops more white primer to your mix to lighten (you can also do the reverse and add black is you want a darker look).  Brush a thin coat over the pot. 
 Quickly sponge most of it off with a clean damp sponge. Let dry.

You can seal with a flat varnish for added protection if it will be exposed to the elements, but mine is staying indoors.


Guinea Pig, at your service

I blogged about this back in August.

Well, I'm finally going to try it. This will be my last hurrah of the season. I figure I'll keep riding my wave of manic spring fix-up frenzy until I eventually crash. (Yes, I will stop painting things soon. I do this every year at this time, and usually run out of steam just in time to get outside in the nice weather.) Then its all beach and mojitos and crazy projects to do while drinking them.

I will be painting my kitchen counters this weekend. It is all part of "The 5 Year Fix". The kitchen is dated, 1964. Its actually sort of cool in a "Brady" kind of way.

 I have flat front walnut laminate cabinets and off white Formica counters that have some burn marks. 
 Oh, and I can't forget the sweet original white wall ovens.  The fridge is dying, so that my be replaced soon.

We will probably getting around to the "real" renovation in 5 years, basically the life of a painted counter.
 Until then I have been given permission to do what I wish with paint and a modest budget. 
So here is my plan:
1) Paint the counters white, then possibly faux to Cararra marble.

 (Nervous about this, I did decorative painting for 12 years but I haven't done this technique in about 7 years. If I fail, they will go back to white.)
2) Paint the "tall" cabinets white or all uppers. I played around with this on Ben Moore's color viewer...
this helps blend my white appliances away.
tried all uppers, leaving a few walnut pops...
and just doors, too jumpy I think...
3) Replace faucet
4) Paint walls. Currently Turquoise. Need to neutralize. No idea what color yet.
5)New cabinet hardware.
6) Fun part. Decorate and accessorize. I have an eat in area that currently has an IKEA tulip table and white eiffel chairs. Want to switch one of those elements out for either an old limed round table or white caned French chairs I have. (I know this sound like a hot mess.)

I've also toyed with the idea of painting all the cabs to a lighter shade like above.
I have no idea. These are some other inspiration pictures...
trying to work with dark wood...

I'm well aware that I can really screw this up big time and I know my kitchen will never look like the above with just paint. I figure I'll start by fixing the counters and work from there.
I welcome any suggestions or experiences with this matter.
 I will try  or do anything at this point. I am here for your entertainment.
XO
Danika


Updated: I'm done and need a manicure REAL BAD

Update: Sorry, I took daytime pics. They are truer to the color. The ones I took at night go very purple. I also changed the lamps. Which do you prefer brass or white? I know I'll probably change them 10 times.
 

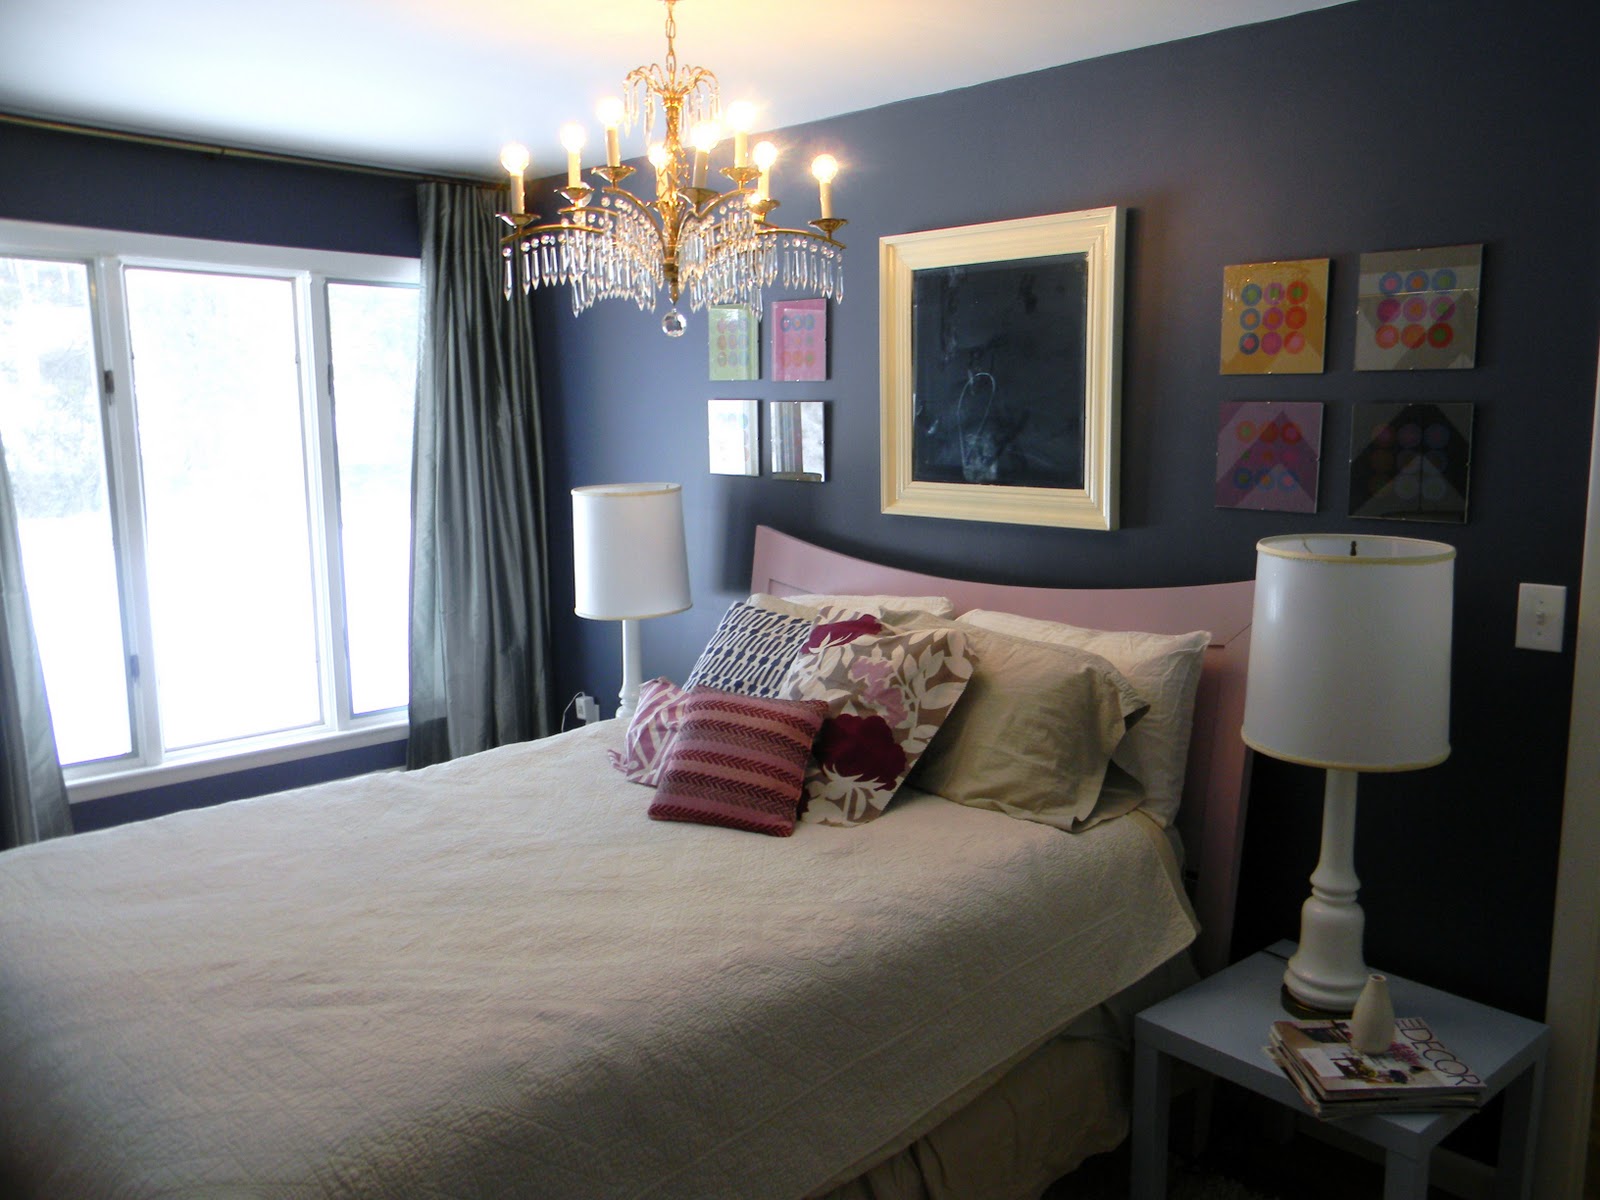
The Guest Room is FINISHED! And so is my painting and redoing streak.
 It took 4 days and less than $90.
A LOT of paint, a homemade stencil, new chandelier and accessories and drapes stolen from other rooms in the house.  Its super girly and the testorone in the house will just have to deal.
need an over the top space to escape to... 


Day


Night

 its where I will be blogging from from now on I think...


My house is destroyed from neglecting it, so I'm off to focus my energy on that for a while.

See how it all went down, meet my accomplice, see the BEFORE and
learn how to design your own stencil

And come back tomorrow for a DIY.  I'm making these guys for a wall sculpture...


The "How We Do"

So it all started Friday.


The sad, vanilla guest room, loaded with all the reject furniture.

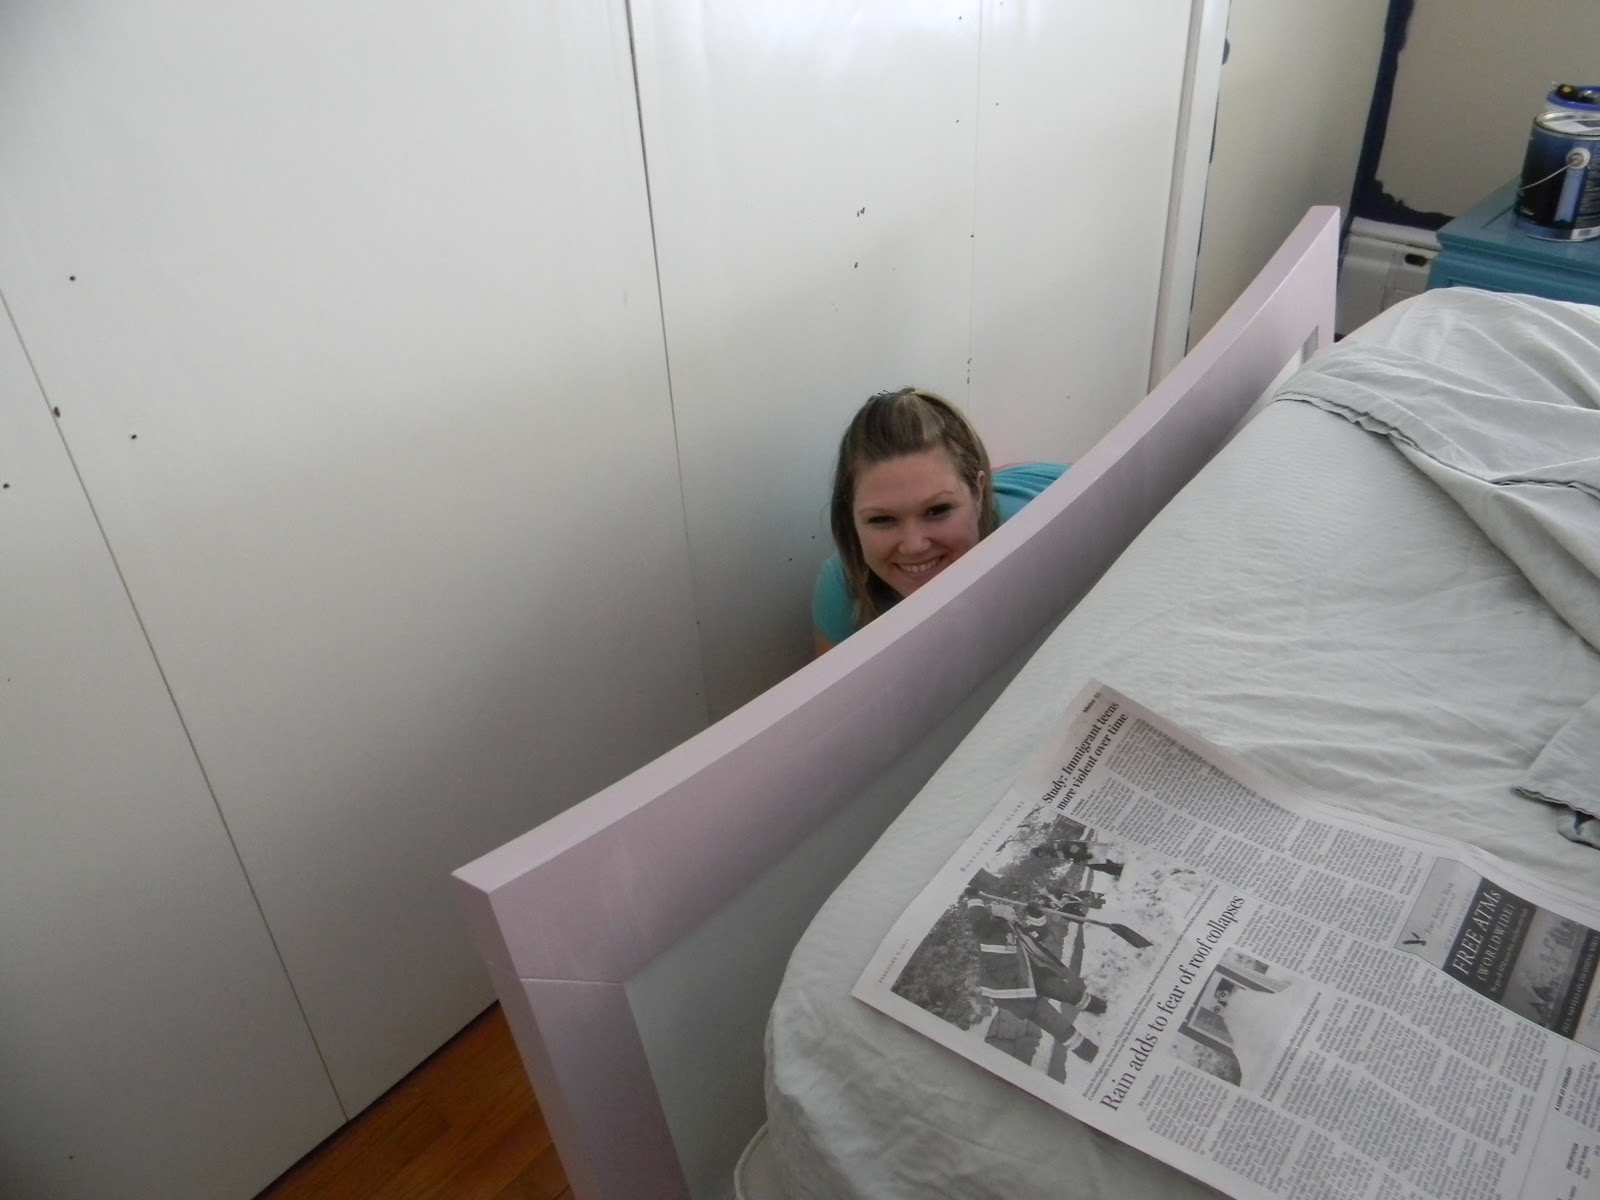
It needed major love and its day had come. My niece Ashley came up to visit and the poor thing got sucked into my madness.  Its good for her though, she is only 22 and now has mad painting skills. Here she is all smiles when we started...


We looked like hell that day, so I promised her a better blog debut.
I stole her cute Facebook profile pic...


Oh, and we painted...
still smiling because its still early.

We painted the bed C2-Mod and the walls Ben Moore Kensington Blue.
I have to sing the praises of Ben Moore's Aura paint.
ONE COAT FOLKS!
I'm talking navy over tan... one freaking coat.
HIGHLY RECOMMEND!


I taped out the chevron stripes over my GINORMOUS closet doors.


When I pulled the tape to adjust it I had a big BOO-BOO.
Nothing a little sand paper and paint can't fix.
Ashley modeled some chandeliers from my collection in the basement...

I actually changed out the fixture because my Dad is MacGyver and I was forced as a kids to help renovate my house from grades 1-11 instead of playing with th eneighborhood kids on weekends. Turns out it was a good thing for life skills.


Back to the closet...
My kids were home sick, so I set them to work redesigning my blog...

The one on the left isn't completely naked. I do dress him, he is just in a shirtless phase.

I realize I'm recreating my childhood for them.  Life skills, life skills.

Meanwhile the rest of my house went to complete hell. 
Stuff thrown everywhere.
The room still needed something, so I decided to make a new stencil.
I have a starburst obsession, and I looked to my collection of old brooches for inspiration...


and sketched until I got a pattern I liked.
I decided to make the starburst 24" wide so I scaled it out on mylar and sectioned it like a pizza to make the pattern easier to lay out.


I started at the center and worked my way out. I cut it out with a utility knife.


I positioned it on the center of the wall and used a low foam roller to apply the paint.
This was so much faster than stippling, just make sure you don't overload the roller.


I decided to space them 12" vertically and 24" horizontally. This pattern is so forgiving and can be done in random spacing too.

Once the large starbursts were done I need to do the small sections along the ceiling.
I only needed a 6" section, so I traced it on a new piece of mylar ( I tried it with heavy vellum first, but it curls after it gets wet with paint, nightmare) and cut.
I then finished the upper walls.

Then I stole a whole bunch of furniture, accessories, and a rug from other parts of the house...

Now go see the afters HERE.
And yes, I'm officially nuts.

LinkWithin

Related Posts with Thumbnails