Showing posts with label beach. Show all posts

Giant Shell Mirror DIY & a THANKS!

I have give a HUGE thanks to Linds over at Everything LEB for featuring a slew of my DIYs and Marcy at Stylesson for featuring my porch. I am totally flattered by the love, thank you ladies!

While on the topic of DIYs, I have a more detailed explaination on how I made the giant shell mirror from my last post and where to find some...
What you will need:
Hot Glue gun
Round or Octagonal Mirror
Enough shells to surround mirror's edge
Piece of plywood cut 2-3" bigger than mirror
Spray paint to paint plywood and shells (if so desired)
Drill to make hole to hang mirror
 I had found 8 of these giant scallop shells I found for $10 last summer  at a yard sale I *think*.  I found more here  and here cheap. The big ones are called Irish Baking Scallops if you want to Google.  I had no idea what I was going to do with them, until I came across this octogon mirror I had as well.  I played around with them and was digging the patten the negative space made.
 I had this fantastic design in my head so I cut a 17" octogon out of plywood and glued it all together and had a big FAIL.
It all fell apart. The shells only have a few points that make contact,
and the hot glue wasn't strong enough. 
I decided to spray the shells gold and try something else...

TAKE 2:
I kept the octagonal plywood, but cut it down an inch so it wouldn't show.
I realized the shell's clasp was about the same size as the edge of the mirror. They wouldn't lay flat  all together, so they would need to go on in two layers.
I hot glued them in close to the  mirror. The first 4 lay flat at every other edge of the mirror, then 4 at an angle on top.  To my surprise it held.  The upper layer got glued along the clasp and at the points it touched the neighboring shell.  I drilled a hole near the top of the underlying plywood to hang it from.


 Finished this mirror is 24" around, but  I think this can also be done with smaller shells and a round mirror.

Also someone had asked where I got my mosquito netting for my porch curtains... IKEA- 2 enorous panels for like 5 bucks... I used 6 panels and sewed them all together so there were no open seams (lesson learned from last year, those sneaky bugs slip in through the cracks), so $15 total for curtains, and $30 for 2 IKEA wire cable systems to hang them.  Super cheap!!!


My favorite "room" of my house

Its not technically in my house, its my covered porch.  I had a great balmy Easter and spent most of the day puttering in my yard and fixing up my porch.  We live in this space once the weather warms up, so we want it to be as multifunctional as possible.
Its right on the back corner of my house and gets a great breeze from the ocean down the street.
I hung my mosquito netting back up (I HATE bugs).
I also found a home for my cool lantern.  I was editing my inside and most of it came out here.
Note the rug from my kitchen.  I just couldn't handle cleaning it constantly with all my kids spills.


Where I lounge with a mag and mojito...


I hot glued this mirror together out of some giant scallop shells I sprayed gold and a random octagonal mirror...
Now, if only the weather would warm back up I could enjoy this space!

Web stumbling...


Wow. I am in love with this sunny chandy.
Thank you Twitter for leading me to this lovely image . I wound up on the site for 30A Style Book on accident, but it was quite a happy accident because its loaded with gorgeous images of beach homes along Route 30A on the Florida Panhandle.
They just released a book full of these homes...
Click here to see more. Makes me want a Gulf Coast vacation real bad.

The "How We Do"

So it all started Friday.


The sad, vanilla guest room, loaded with all the reject furniture.

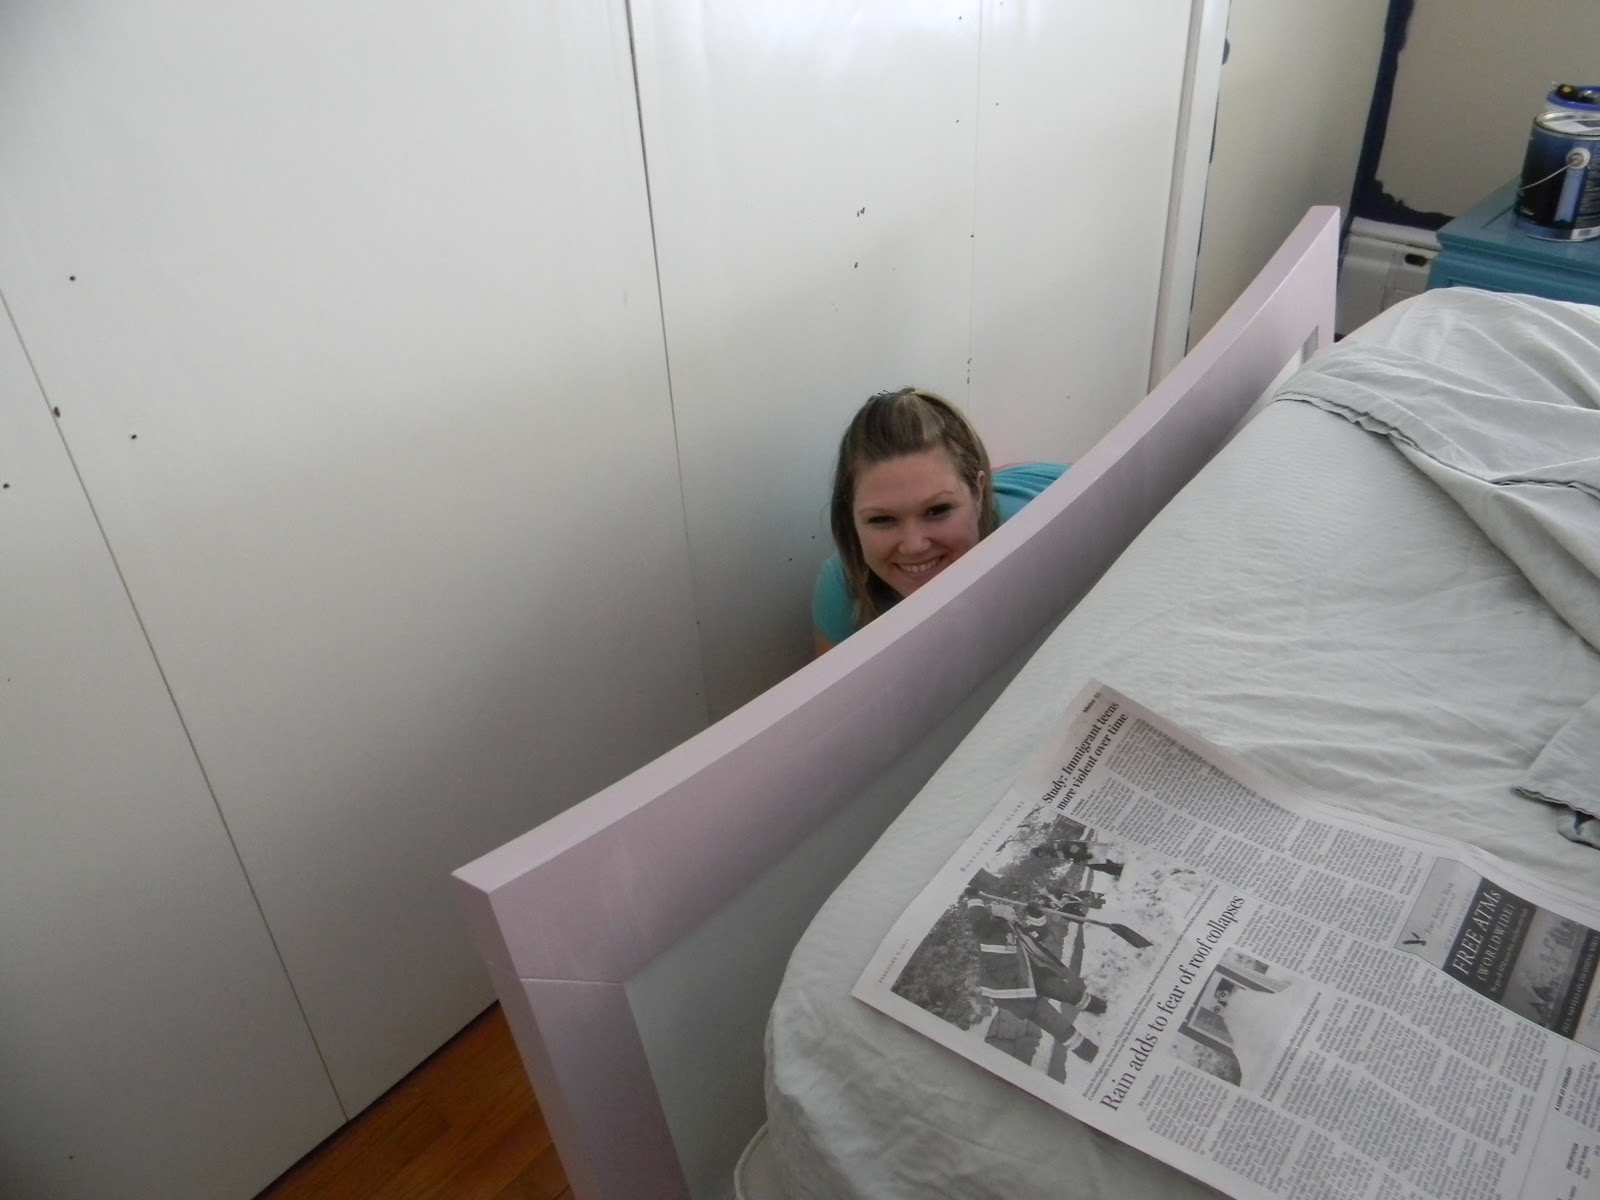
It needed major love and its day had come. My niece Ashley came up to visit and the poor thing got sucked into my madness.  Its good for her though, she is only 22 and now has mad painting skills. Here she is all smiles when we started...


We looked like hell that day, so I promised her a better blog debut.
I stole her cute Facebook profile pic...


Oh, and we painted...
still smiling because its still early.

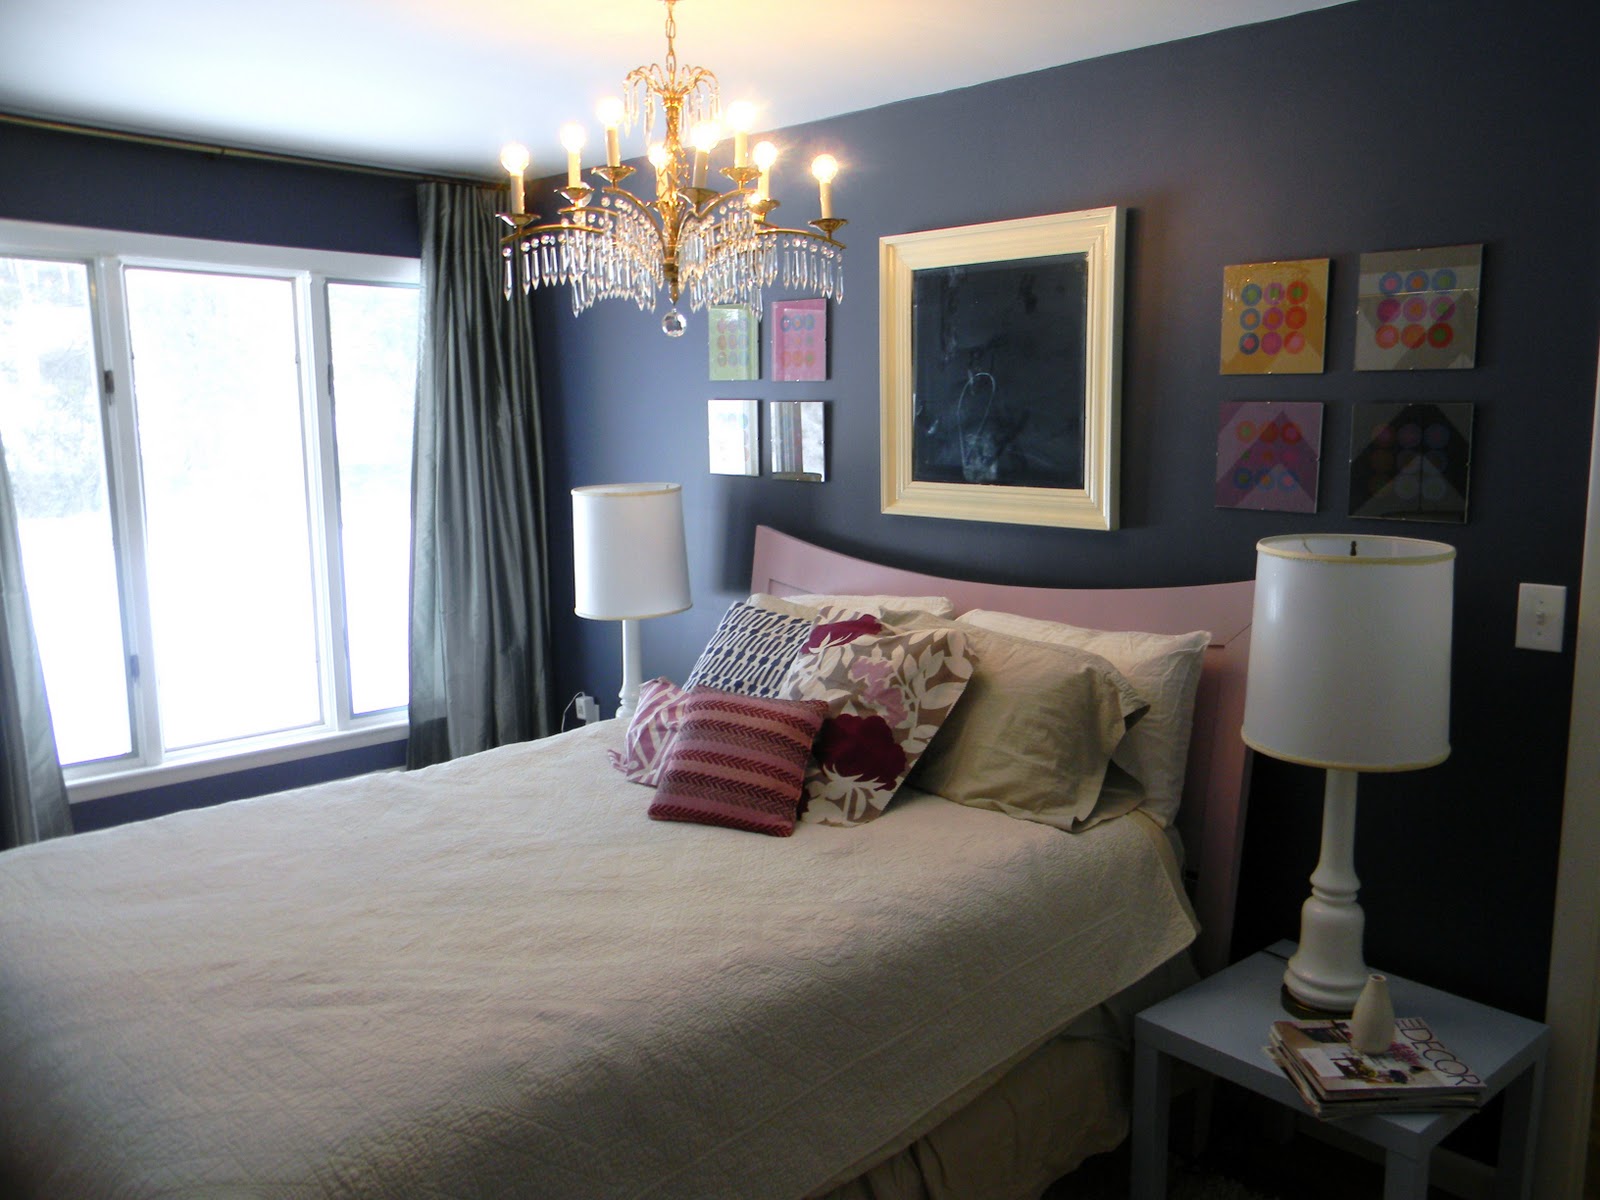
We painted the bed C2-Mod and the walls Ben Moore Kensington Blue.
I have to sing the praises of Ben Moore's Aura paint.
ONE COAT FOLKS!
I'm talking navy over tan... one freaking coat.
HIGHLY RECOMMEND!


I taped out the chevron stripes over my GINORMOUS closet doors.


When I pulled the tape to adjust it I had a big BOO-BOO.
Nothing a little sand paper and paint can't fix.
Ashley modeled some chandeliers from my collection in the basement...

I actually changed out the fixture because my Dad is MacGyver and I was forced as a kids to help renovate my house from grades 1-11 instead of playing with th eneighborhood kids on weekends. Turns out it was a good thing for life skills.


Back to the closet...
My kids were home sick, so I set them to work redesigning my blog...

The one on the left isn't completely naked. I do dress him, he is just in a shirtless phase.

I realize I'm recreating my childhood for them.  Life skills, life skills.

Meanwhile the rest of my house went to complete hell. 
Stuff thrown everywhere.
The room still needed something, so I decided to make a new stencil.
I have a starburst obsession, and I looked to my collection of old brooches for inspiration...


and sketched until I got a pattern I liked.
I decided to make the starburst 24" wide so I scaled it out on mylar and sectioned it like a pizza to make the pattern easier to lay out.


I started at the center and worked my way out. I cut it out with a utility knife.


I positioned it on the center of the wall and used a low foam roller to apply the paint.
This was so much faster than stippling, just make sure you don't overload the roller.


I decided to space them 12" vertically and 24" horizontally. This pattern is so forgiving and can be done in random spacing too.

Once the large starbursts were done I need to do the small sections along the ceiling.
I only needed a 6" section, so I traced it on a new piece of mylar ( I tried it with heavy vellum first, but it curls after it gets wet with paint, nightmare) and cut.
I then finished the upper walls.

Then I stole a whole bunch of furniture, accessories, and a rug from other parts of the house...

Now go see the afters HERE.
And yes, I'm officially nuts.

Wash those clammy hands in one of these...


Oh, that was bad. I know.  
Came across these on Willow Decor.  It has to be my favorite use of a clamshell ever.
You can get one here. 
Today is the last day to enter my pillow giveaways.
Blue Chevron or the Drunken DIY (came out really good though!)

DIY Weathered Sunburst Mirror

FINISHED!
I was recently inspired by a driftwood sunburst mirror from an earlier post, but it seems the beach at the end of my street isn't heavy on driftwood... just lots of shells, and I have another project for them.  So this past weekend my husband and I started taking down our fence, and the weather quality of the pickets was just perfect for this project.  You can use basically anything for this project so get creative.  (I want to frame the mirror in my son's bathroom with Matchbox cars next.) 

So first get yourself a mirror.  If it has a backing and/or existing frame skip the next step.  This one was a big 3' round that came with the house.

Next cut a thin piece of plywood an inch or two larger than the mirror.  Attach hanging brackets to the back.  Adhere mirror to the plywood.  I used contact cement. 

Use magazines to balance out the height of the plywood and start gluing on your branches/ pickets.  The strentgh of your glue depends on the weight and size of your choice of material. You can get away with hot glue for little mirrors.

I weighed down the glued edges while they dried with books, etc. to make sure they stuck.
Once dry (I let it go overnight),  hang and enjoy!

LinkWithin

Related Posts with Thumbnails